- Published on
How to add universal links to your iOS app in React Native.
- Authors

- Name
- Igor Shevchenko
- @heyiamigor
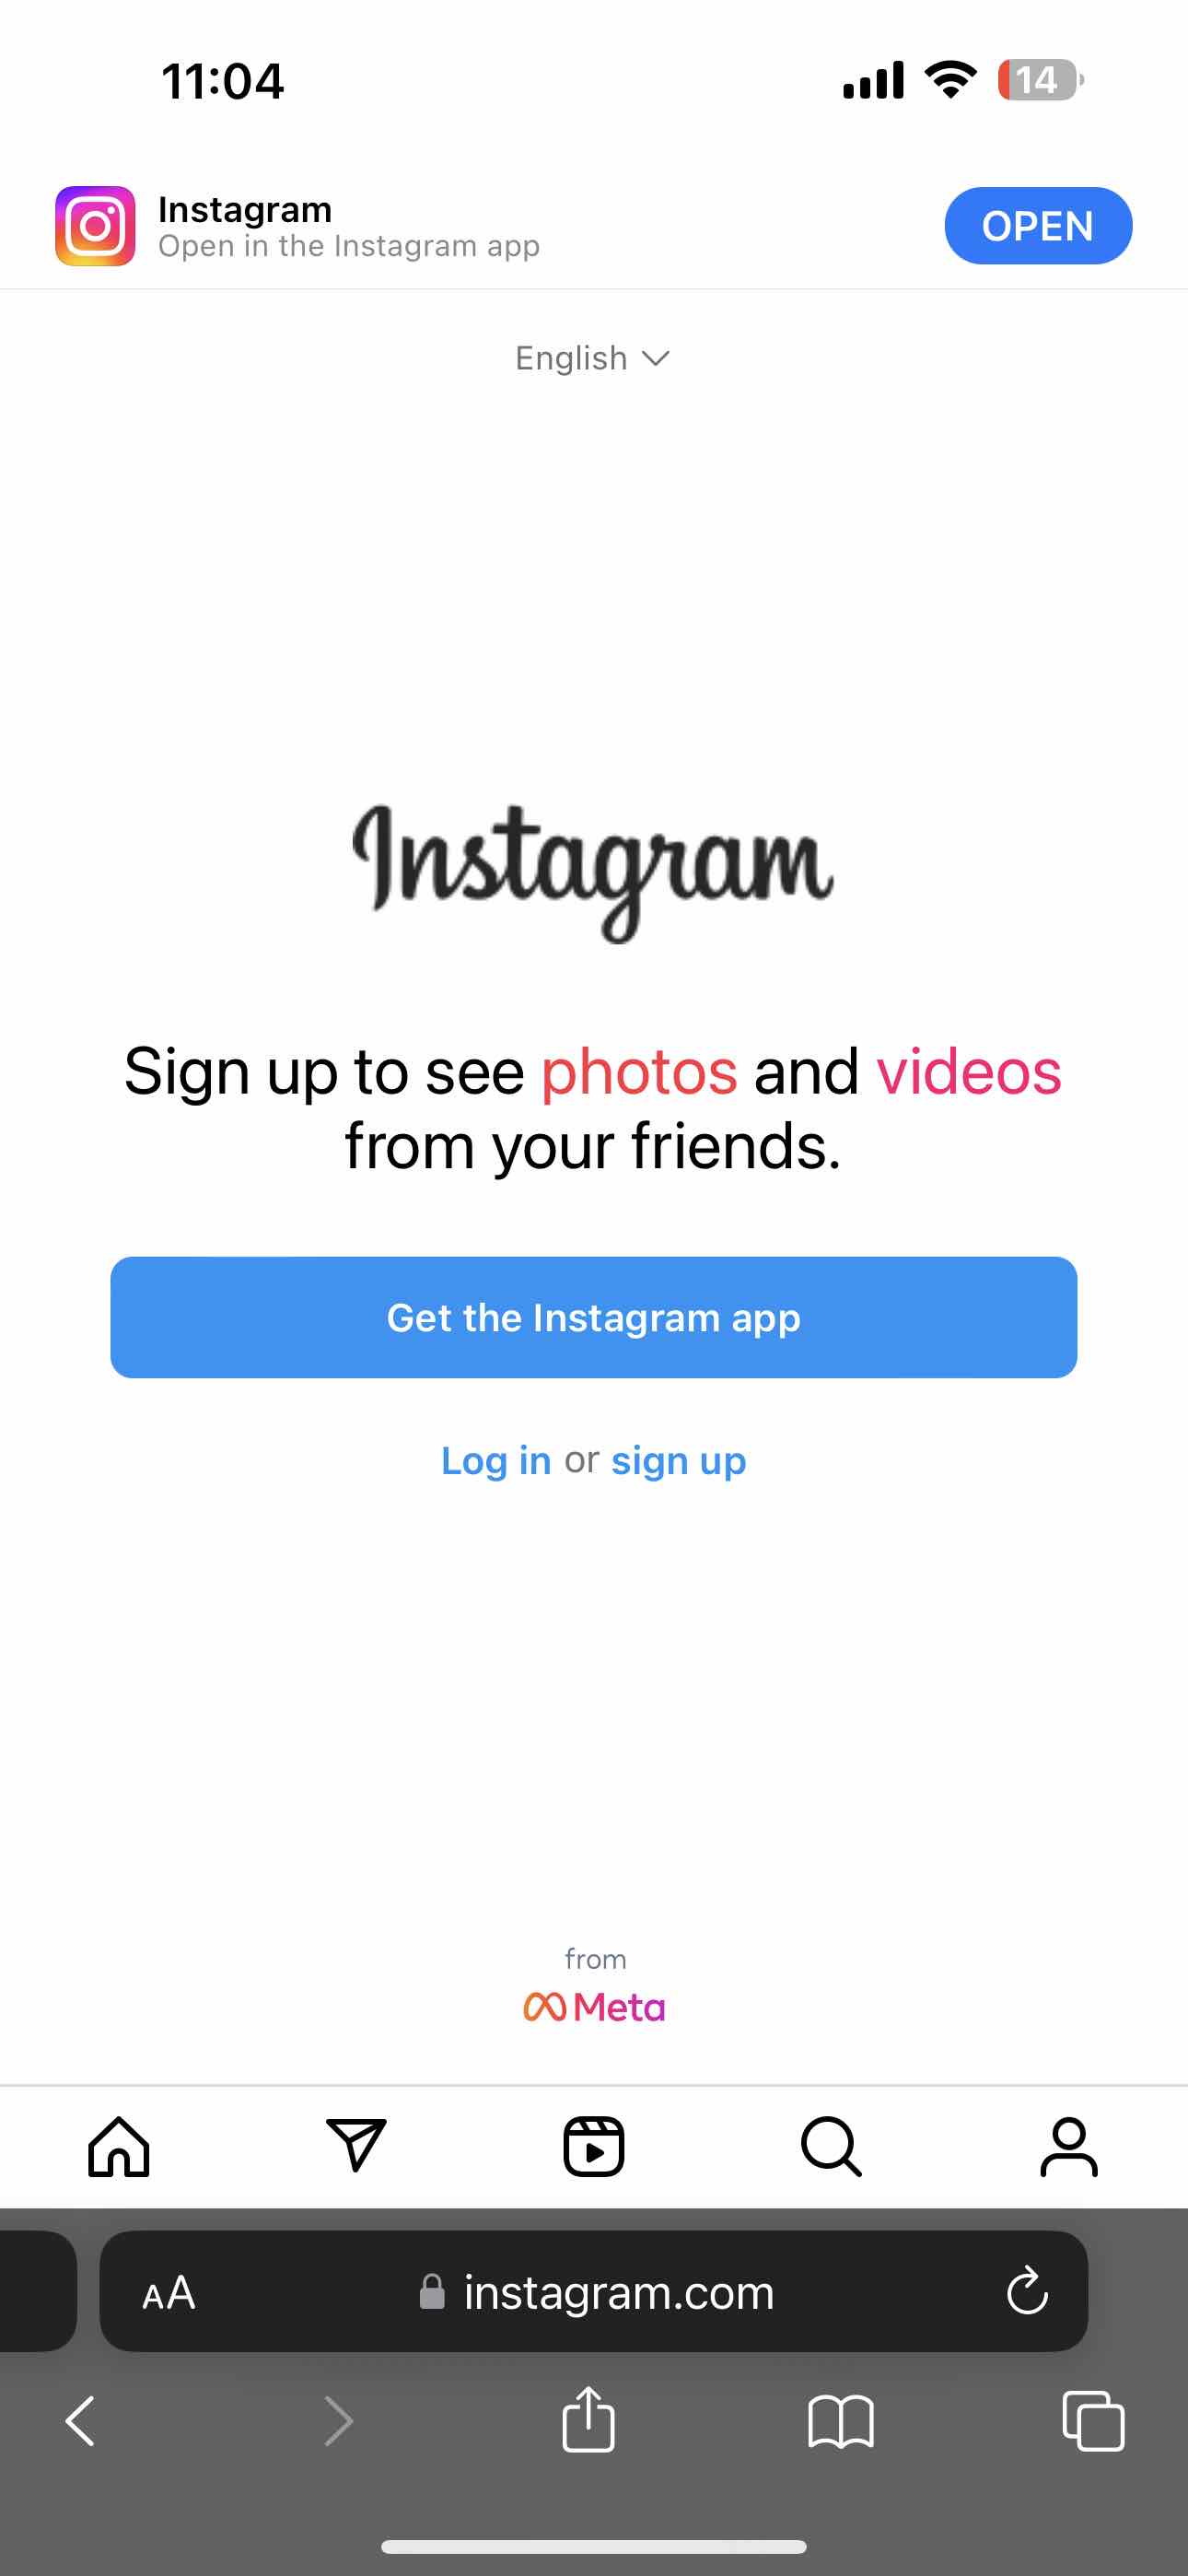
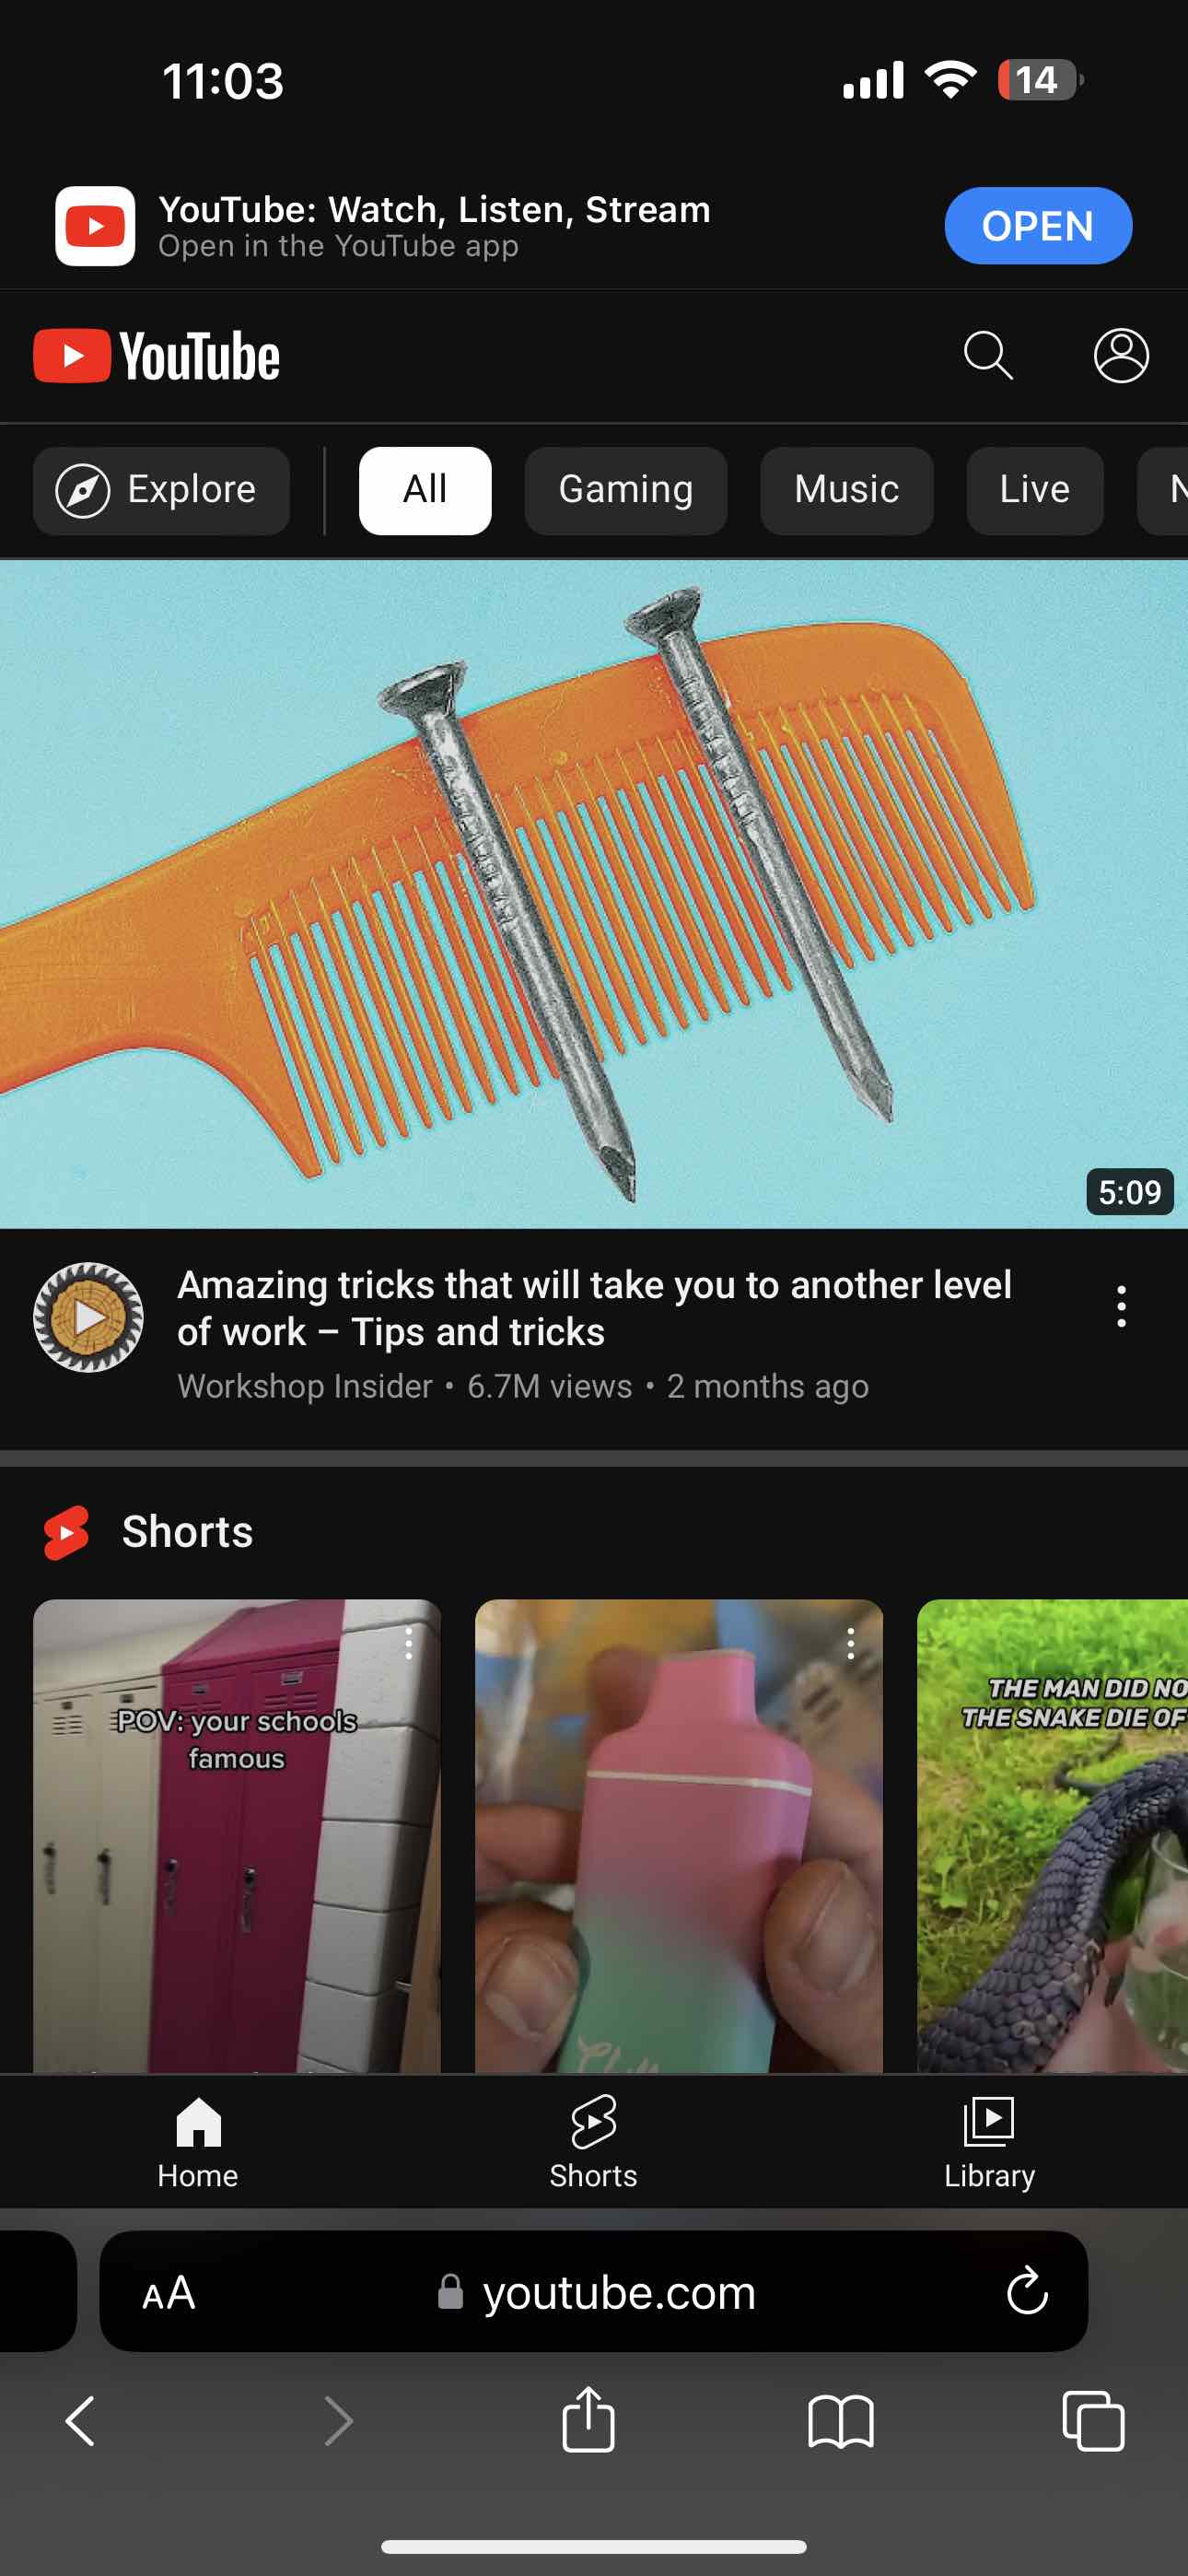
I've always been curios about how these banners show up at the top of your screen and suggest you to open an app while visiting some websites. For example, YouTube, Instagram, and others suggest you open the corresponding app if you have it installed.


Here's how to add it into your app:
First you need to setup a linking structure in your RN app.
For example, it can look something like this:
const linking = {
  prefixes: ['https://my-cool-app.com'],
  config: {
    screens: {
      Home: '/',
      Login: 'login',
      SignUp: 'signup',
    },
  },
}
So, the keys under screens are your application's screens that you want to open when user visits a particular url.
Fo example, if user is on https://my-cool-app.com/login and they see the Open banner button, when they tap it,
they will be redirected into your app on the Login screen.
- The next step is to add this config to your
NavigationContainer
import { NavigationContainer } from '@react-navigation/native'
;<NavigationContainer linking={linking}>...</NavigationContainer>
After that open the app.json file and make sure to add your website in the associated domains section.
{
  "expo": {
    "name": "MyCoolApp",
    "scheme": "mycoolapp",
    "slug": "MyCoolApp",
    "version": "1.0.0",
    "ios": {
      "supportsTablet": true,
      "buildNumber": "8",
      "associatedDomains": ["applinks:my-cool-app.com"],  // <= make sure it's in this format
      "bundleIdentifier": "your-bundle-id"
    },
    // ...other config stuff omitted
  }
}
Next up we need to go to Xcode and add our domain in the project. (I had to do this step to make it work on an iOS simulator)
- Open your project is Xcode.
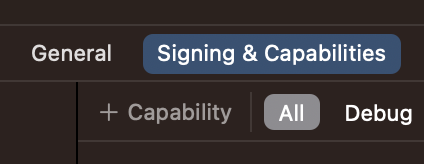
- Go to
Signing and Capabilitiesand click on+ Capability.
- Now add your domain to the
Associated Domainssection.
Good news: this is all we need to do in our RN app.
Next step is to add configuration to our website.
The website needs to serve a file named apple-app-site-association from the .well-known folder.
In my case I was using Next.js and was deploying to Vercel and for it to work
I needed to put this .well-known folder inside of the public folder.
The apple-app-site-association should have the following structure:
{
  "applinks": {
    "apps": [],
    "details": [
      {
        "appID": "12345.com.user.MyCoolApp",
        "paths": ["/", "/login", "/signup"]
      }
    ]
  }
}
And that's it! A few things to keep in mind and how to test it:
- I'm not aware if you can test it with Expo Go, therefore, I just built it with
npx expo run:iosand opened the standalone app on iOS simulator. - Note that this will only work if your website is on
HTTPS, meaning if you want to test it locally with your website onhttp://localhost:3000- this wont work. - You can also publish your app to TestFlight, install it on your device and test the universal links.
If everything is setup correctly, universal links will work on your local iOS simulator when visiting your https://my-cool-app.com from simulator's Safari browser and will also work when you install the app on your device through TestFlight or App Store.